
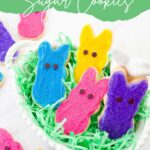

I have always been a HUGE lover of Peeps marshmallows during Easter, so I had to make these Easter Peeps Sugar Cookies to celebrate the holiday!
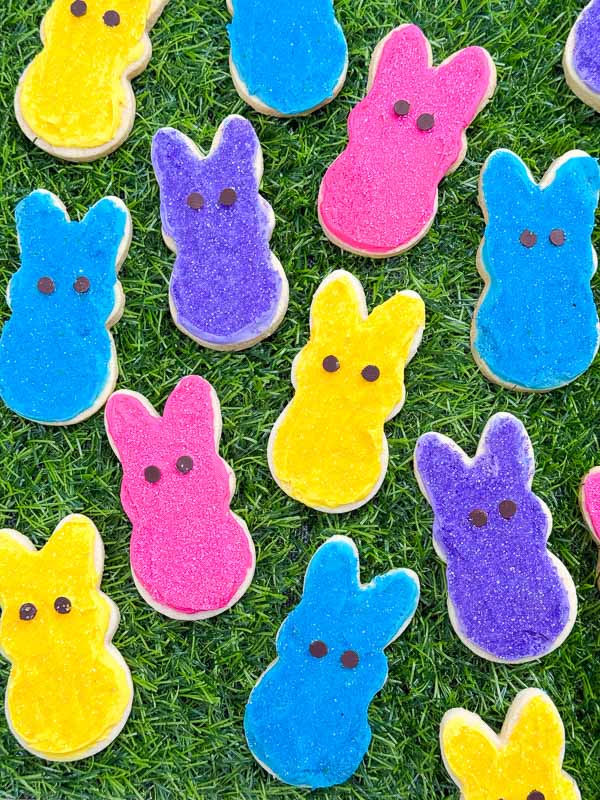
Table of Contents
Why You Will Love This Recipe
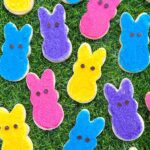
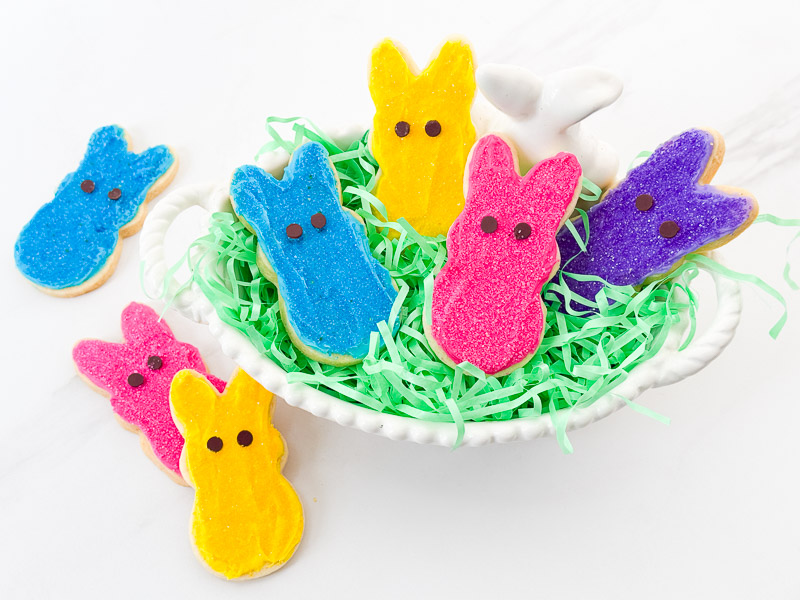
I am just in love with these Easter sugar cookies! The bright colors are GORGEOUS and so much fun! Plus the nostalgia of the bunny shape and colors, just like Peep marshmallows, makes these such a great treat for the holiday.
They are one of my favorite Easter recipes and are great to pair up with Mini Egg Cookies, shaped like eggs and made with candy eggs and chocolate chips!
Ingredients
Full ingredient list and quantities can be found in the recipe card at the bottom of the post.
Let’s talk about some of the items you are going to need for this recipe and some notes that I have for them:
Bunny Cookie Cutter – I got a three pack of cutters and found the medium size (at 3.5 inches tall and 1.8 inches wide) to be perfect! Use any size cutter as desired, noting the final quantity and best eye option will vary.
Mini Chocolate Chips – I found this size to be perfect for the eyes for my cutter size. You could also use a brown or black gel/frosting pen or other candy.
Gel Food Coloring – I prefer to use gel food coloring because you get bright, bold colors from a small amount. This also helps prevent the icing from being too thin from a lot of liquid being added.
I have also found that purple gel food coloring tends to not look good in the traditional sets. So I use purple from a neon gel food coloring set and it is perfect!
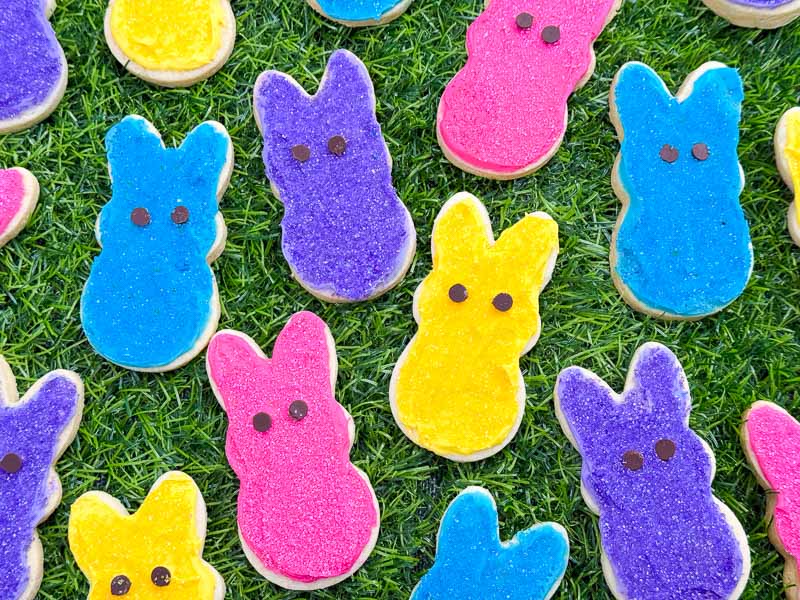
Colored Sugar Sprinkles – the colored sugar crystals (also called sanding sugar) are just perfect for mimicking the texture of marshmallow Peeps! They are the best option over other sprinkle types for this look.
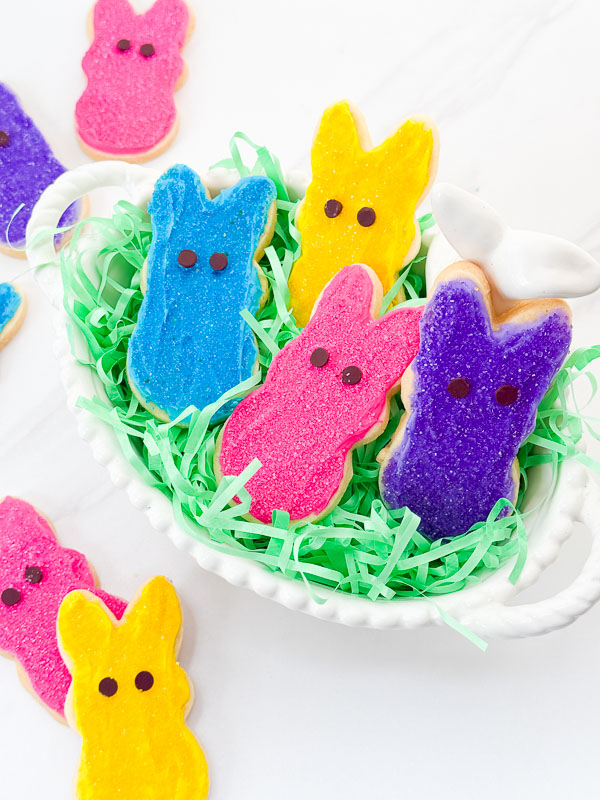
Canned Frosting – I find using canned frosting is incredibly easy, which is why I use it here. Use one that is white so you have a clean base for your food coloring. You can also make your own frosting or glaze if desired. See the Modifications section below regarding glaze.
Instruction Overview
It is very easy to make these cookies in advance, which I love to do to make cooking easier the closer I get to a holiday.
This cookie recipe does not spread much which is PERFECT for when you want great shapes, such as these bunnies.
I also recommend freezing the cookies for 5-10 minutes after cutting, before baking, to help hold their shape.
Make the frosting the same color as the sprinkles, which will give you deeper color and prevent it looking weird from white showing through the sprinkles. Gel food coloring is the best way to get those deep colors!
Use a knife or offset spatula to frost the cookies. I try to leave a little edge of cookie that is not frosted as I think it looks cleaner, but do what you like!
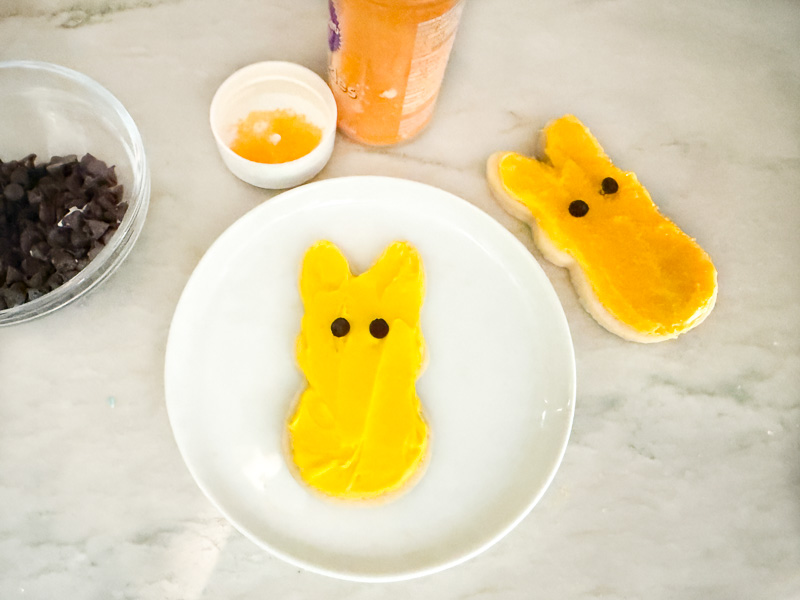
Add the chocolate chip eyes before the sprinkles, with the point side down. I also like to cut off the tip of the chip point so that it sticks better into the frosting and does not protrude from the frosting.
Then go to town with the sprinkles! I do this on a small plate as you see in the picture to easily shake off and catch the excess.
Be careful when storing the cookies as pressure can shift the frosting (no tight boxes!). The cookies can be kept in an air tight container for up to a week or frozen for 2 months (but I recommend only freezing without any decoration).
Modifications and Substitutions
You can use any color that you like for the bunny color, just get the matching sugar sprinkles!
Another option is to make a royal icing and dunk the cookie face down into the icing, then top with sprinkles. But if it is too wet, the icing will run off the sides and also somewhat absorb the sprinkles on top.
This base cookie recipe was adapted from In Fine Taste.


Easter Peeps Sugar Cookies
Equipment
- 4 Small Bowls
- Stand mixer or hand mixer and large bowl
- Offset Spatula or knife, for frosting
- Rolling Pin
- Silicone Baking Mat or parchment paper
Ingredients
- ¾ cup butter at room temperature
- 4 ounces cream cheese room temperature
- 1 large egg room temperature
- 1 ½ cups granulated sugar
- 1 teaspoon vanilla extract
- 1 teaspoon salt
- 3 cups all purpose flour
Decorating
- 16 ounces white canned frosting
- purple gel food coloring (see note 1)
- bright pink gel food coloring
- yellow gel food coloring
- bright blue gel food coloring
- 3 Tablespoons purple sugar sprinkles (also called sanding sugar)
- 3 Tablespoons dark pink sugar sprinkles
- 3 Tablespoons yellow sugar sprinkles
- 3 Tablespoons bright blue sugar sprinkles
- 80 mini chocolate chips pointy ends cut off
Instructions
- Add the cream cheese and butter to the bowl of the stand mixer. Beat on medium with the paddle attachment until smooth and well incorporated.¾ cup butter, 4 ounces cream cheese
- Add the sugar, egg, and vanilla. Continue beating 3 minutes until light and fluffy.1 large egg, 1 ½ cups granulated sugar, 1 teaspoon vanilla extract
- Add the salt and flour, and mix until just incorporated. Do not overmix.1 teaspoon salt, 3 cups all purpose flour
- Scoop the dough out and put on a large piece of plastic wrap. Shape the dough into a rectangular disc and wrap up. Chill for 2 hours in the refrigerator.
- Preheat oven to 350℉ (177℃).
- Roll the dough out to 1/2 inch thick. Cut out your bunny shapes.
- Optional: Freeze the cut cookies (on the baking sheet or a plate, etc) for 10 minutes before baking to help hold their shape. I do this as I continue cutting, working in batches.
- Place the cookies an inch apart and baking for approximately 8 minutes, just starting to brown a little.
- Remove the cookies from the oven and let rest on the baking sheet for 5 minutes before transferring to a cooling rack. Let cool completely before decorating.
Decorating
- Divide your frosting into 4 bowls (or however many different colors you are making). Color each bowl with gel food coloring until a similar color as each corresponding sprinkle color.16 ounces white canned frosting, purple gel food coloring, bright pink gel food coloring, yellow gel food coloring, bright blue gel food coloring
- Cut the pointy tips off of the mini chocolate chips to make it easier to stick them in the frosting, without them falling off.80 mini chocolate chips
- Use a knife or offset spatula to frost each bunny. Place on a small plate.
- Add two mini chocolate chips, flat side up, to each cookie as the eyes.
- Shake the matching sprinkles all over the cookie. Lift and shake off excess sprinkles on the plate.3 Tablespoons purple sugar sprinkles, 3 Tablespoons dark pink sugar sprinkles, 3 Tablespoons yellow sugar sprinkles, 3 Tablespoons bright blue sugar sprinkles
- Repeat for all colors and cookies until done.
- Cookies can be stored in an airtight container for up to a week.
Notes
- I have found that purple gel food coloring typically looks blue. So I recommend using a neon food gel set with purple in it. I used the Walmart brand neon gel in these pictures, but have also linked a great set online to the ingredient itself.
- One can of frosting might not look like much but was perfect for this batch. If you use a lot of frosting, you might end up needing more.
- If desired, you can use royal icing instead of frosting for decorating.
- Cookies, unfrosted and undecorated, can be frozen up to 2 months.
- You might need more or less of the frosting and sprinkles.