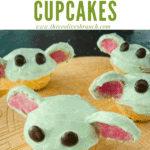
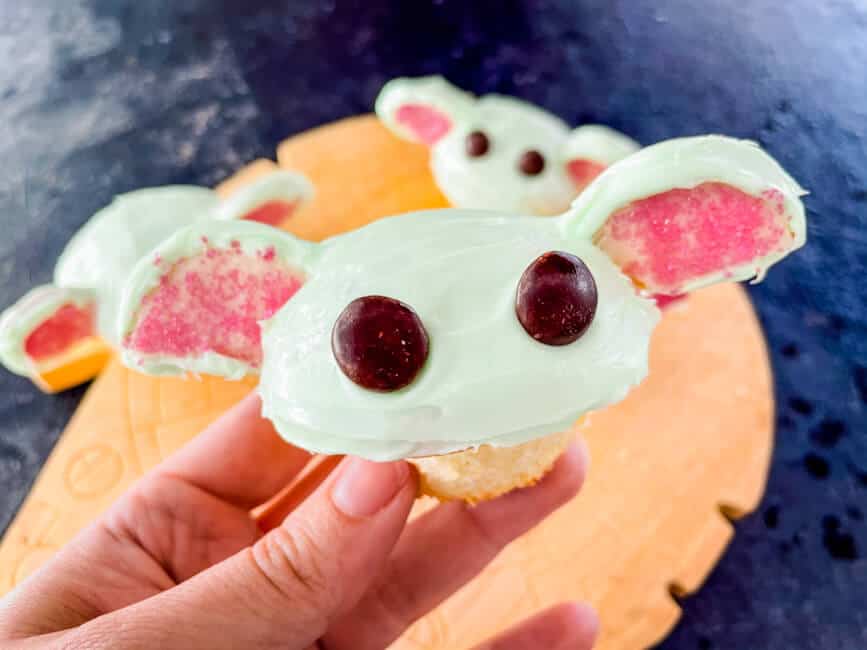
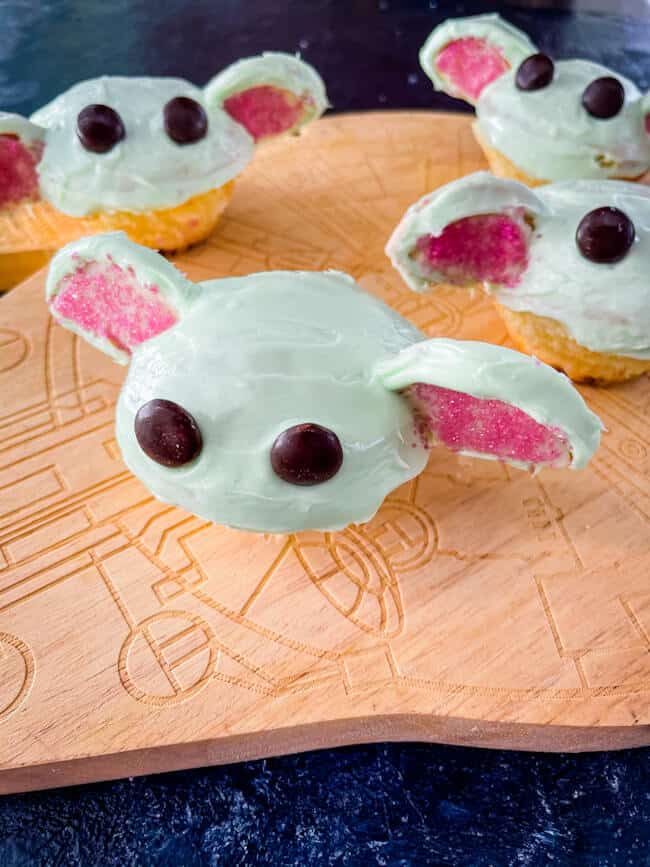
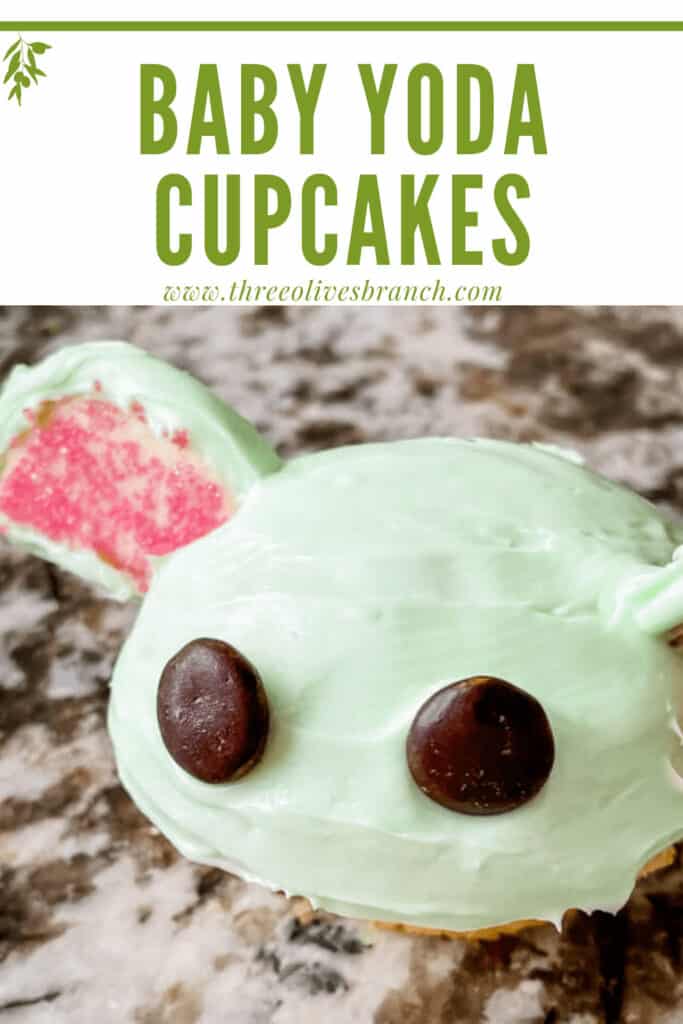
These Baby Yoda Cupcakes are just adorable and a perfect dessert for Star Wars fans, viewing parties, and space themed parties! You can bet they will make an appearance for The Mandalorian!
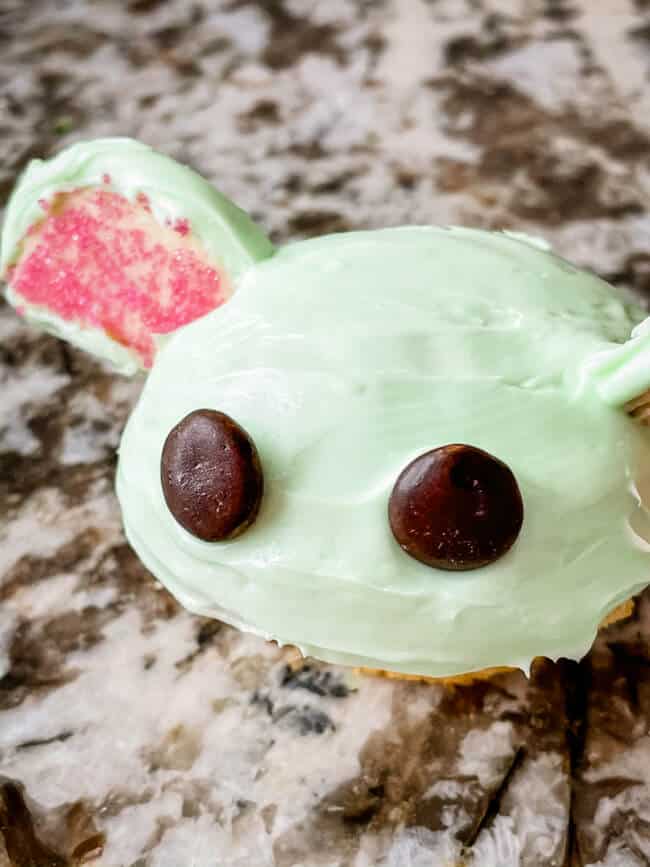
I know a lot of Star Wars fans, especially Yoda lovers, and making Baby Yoda Cupcakes to honor The Child was the most exciting thing they saw all week.
They take a little time to make, but they are worth it!
Prep
Get everything you need ready to go for your cupcakes!
I like to make the cupcakes either the day before or much earlier in the day so that they have time to cool. A cool cupcake, or cake, is much easier to frost.
When I make the cupcakes, I fill them up more than normal in order to get a larger top since the flat edge bottom acts as the body.
It is best to use a neutral colored cupcake liner, or use silicone liners and remove them before assembling (which is what I did).
Make your frosting green by getting white frosting and adding three drops green and one drop yellow. Mix well. Adjust the color with more green and/or yellow as desired. I found the yellow balanced out the brightness of the green. Set aside.
Then get everything else you need out and ready: sandwich cookies, pink sugar sprinkles, and brown MnMs.
Let’s go!
Prep the Cupcakes
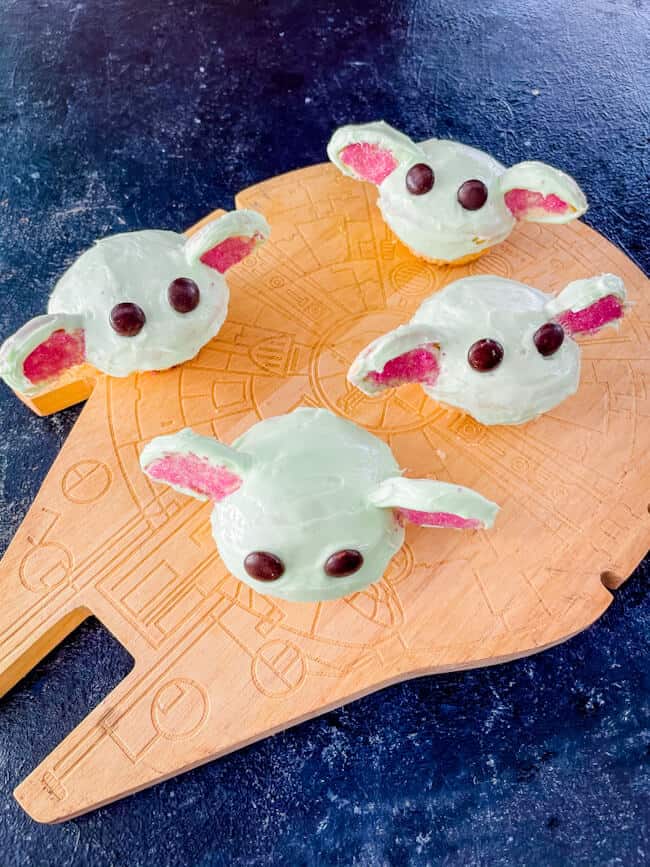
Frost up those cupcakes!
Get them covered in your Yoda green frosting. Smooth the frosting out completely by running the knife or spatula under water and then smoothing out the frosting.
You can also mound up the frosting in the middle to give them more of a rounded head if desired.
Get them all covered and set aside before starting assembly.
Making the Ears
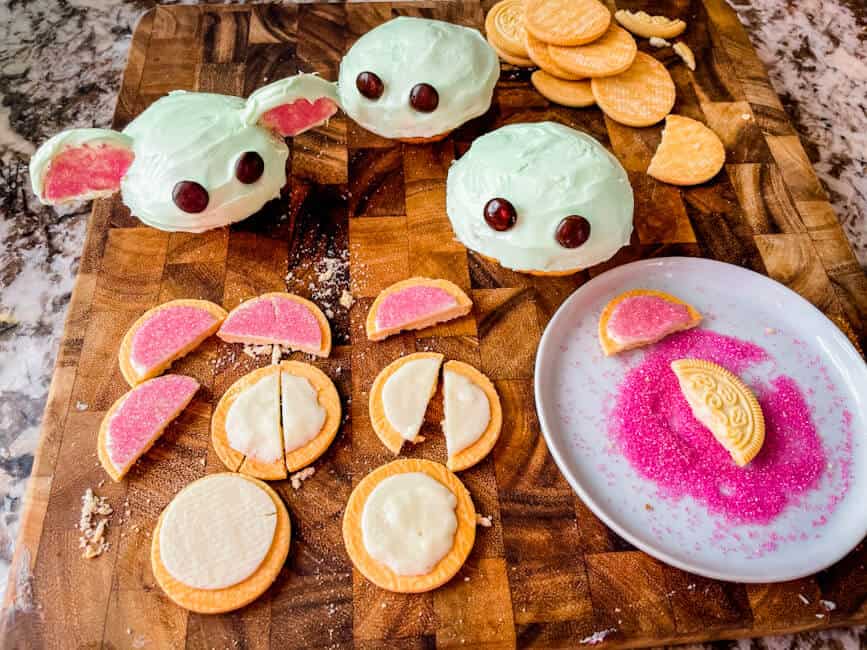
To make Baby Yoda’s ears, get sandwich cookies (Oreo or similar). I like to use any of the white cookie ones so that if any shows through, there are not dark spots on the ears.
Twist the halves apart, trying to keep the filling on one side.
Did the filling split? No problem, you can scrape it and easily press it back where you want it.
Take the cookie with the filling on it and cut it in half with a sharp knife.
Put some pink sugar sprinkles in a shallow plate or bowl. Press the filling into the sugar sprinkles until covered in pink.
Next, get your green frosting. You want to cover the edges of the ears where you see the cookie in the frosting. I did not frost the back of the ears because they became too heavy and would fall off when assembled.
For me, the easiest way to do this was to hold the ear at a corner (the corner you are going to press into the head – perfect for cookies that might break at the corners).
Get a knife or skinny spatula and really load it up with a ton of the frosting. Then rotate the edge of the ear through the frosting mound on both the curved and flat edge.
Gently take the ear and press the non-frosted corner into the head until it stays put, at the angle you want the ears at. This is typically right above where the flat cupcake edge meets the rounded head.
Really press them in there so they stay put!
Repeat with the second ear.
Final Touches
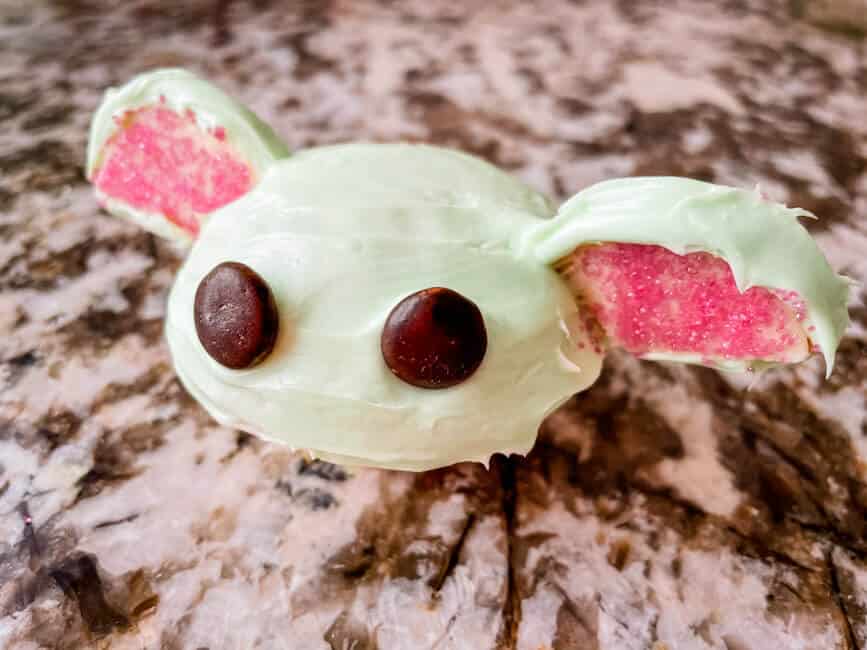
Now you just need a few final touches for your Baby Yoda Cupcakes!
Take two brown MnMs and place them as eyes, “m” side down, on the head. I found that angling the eyes so they stick up off the cupcake a little made it look better than laying the eyes completely flat (see pictures).
Want to give him a robe? Cut up some brown parchment or butcher paper into strips the height of the cupcakes’ flat edges, wrap around, and secure with a little twine or string.
Star Wars Recipes
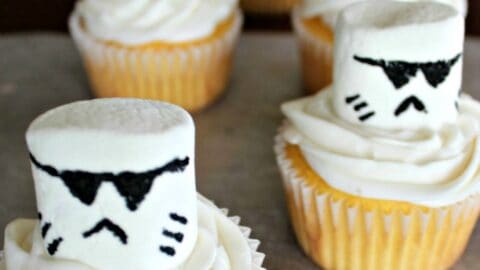
Storm Trooper Star Wars Cupcakes
Whether you’re planning on catching up on all of the Star Wars movies or planning for an upcoming Star Wars themed birthday party, these Storm Trooper Star Wars Cupcakes are going to be a hit.
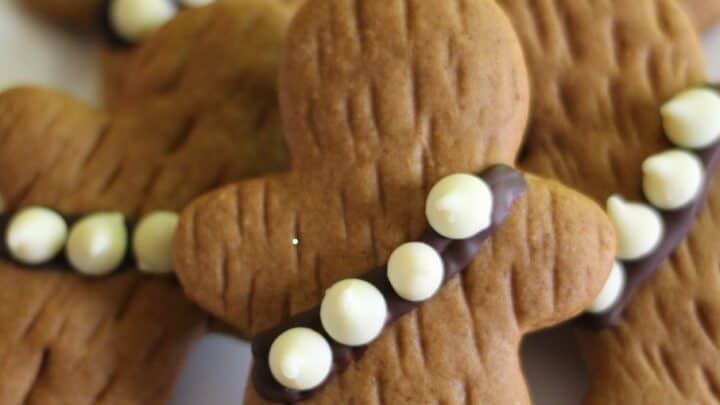
Tasty Wookie Cookies for the Holidays » Homemade Heather
These Wookie Cookies make the perfect Star Wars inspired gingerbread men for your holiday baking!
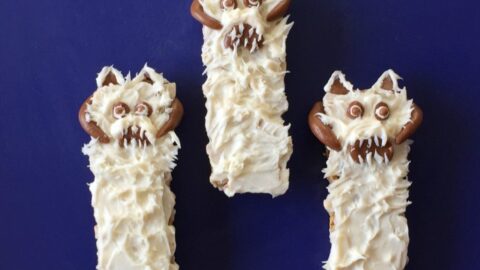
Star Wars Treat: Wampa Bars
SO cute and a fun treat for your Star Wars themed party or event, these Wampa bars will be a hit!
Galaxy Popcorn: Perfect For Star Wars Movie Night
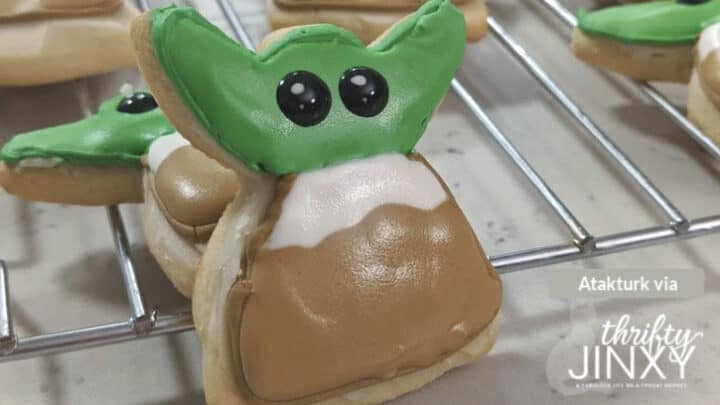
How to Make Baby Yoda Cookies with Step-by-Step Instructions
These adorable Baby Yoda Cookies are fun to make with an angel cookie cutter
Baby Yoda Cupcakes
Ingredients
- 12 cupcakes unfrosted
- 16 ounces white frosting (one can)
- 3 drops green food coloring
- 1 drop yellow food coloring
- 12 sandwich cookies (white cookie preferred)
- pink sugar sprinkles
- 24 MnMs (brown only)
- brown parchment paper or butcher paper, optional
- twine or string, optional
Instructions
- Bake the cupcakes as per your package directions, but fill them up more than normal (about 3/4 full). This will give you a larger top since the flat edge bottom acts as the body. Cook until baked through and set aside to cool completely.
- Make your green frosting by adding 3 drops of green food coloring and 1 drop of yellow food coloring to the frosting can. Stir well to combine. Add more of either color as desired until you get your desired shade of green.
- Frost your cupcakes: Frost all cupcakes in your Yoda green frosting. Smooth the frosting out completely by running the knife or spatula under water and then smoothing out the frosting. You can also mound up the frosting in the middle to give them more of a rounded head if desired.
- Twist the halves of the sandwich cookies apart, trying to keep the filling on one side.Did the filling split? No problem, you can scrape it and easily press it back where you want it.Take the cookie with the filling on it and cut it in half with a sharp knife.
- Make the Ears: Put some pink sugar sprinkles in a shallow plate or bowl. Press the cookie filling side into the sugar sprinkles until covered in pink.Get your green frosting. You want to cover the edges of the ears where you see the cookie in the frosting. I did not frost the back of the ears because they became too heavy and would fall off when assembled.For me, the easiest way to do this was to hold the ear at a corner (the corner you are going to press into the head – perfect for cookies that might break at the corners).Get a knife or skinny spatula and really load it up with a ton of the frosting. Then rotate the edge of the ear through the frosting mound on both the curved and flat edge.Gently take the ear and press the non-frosted corner into the head until it stays put, at the angle you want the ears at. This is typically right above where the flat cupcake edge meets the rounded head.Really press them in there so they stay put! Repeat with second ear.
- Take two brown MnMs and place them as eyes, "m" side down, on the head. I found that angling the eyes so they stick up off the cupcake a little made it look better than laying the eyes completely flat (see pictures).
- Want to give him a robe? Cut up some brown parchment or butcher paper into strips the height of the cupcakes' flat edges, wrap around, and secure with a little twine or string.


