
Make these Roasted Garlic Grissini (Italian Breadsticks) for a fun appetizer or Italian side dish. A twist on a very classic and popular Italian recipe!

This post contains affiliate links.
I absolutely LOVE grissini! They are the thin and long Italian breadsticks.
When I lived in Italy for college, we were constantly snacking on these. Eating them with cheese and meats, dipping them in Nutella, and so many other ways.
You can also find them in the bread baskets of many restaurant tables in Italy. They are as normal to Italian meals as garlic bread is here in the United States.

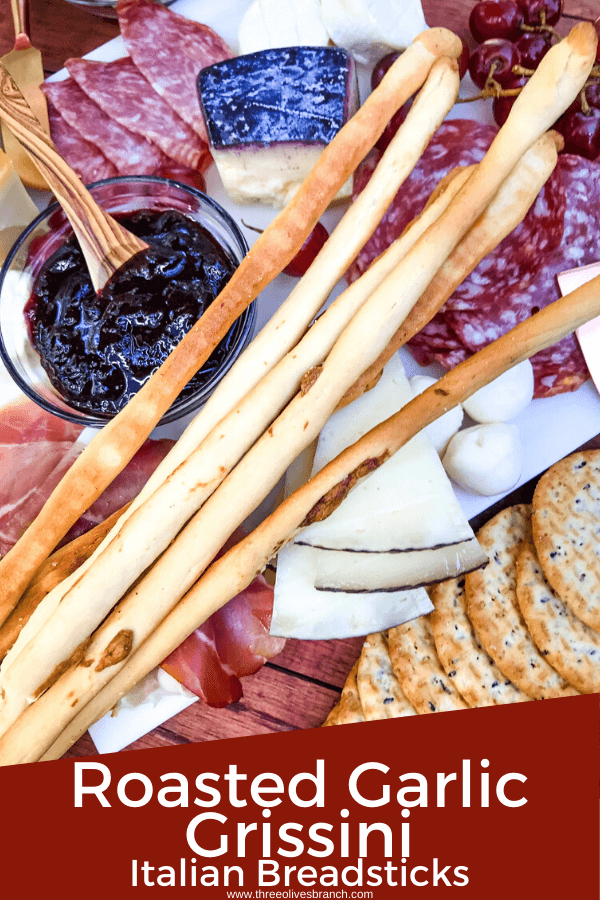
We decided to make some fatti en casa grissini (homemade grissini breadsticks) for a wine and charcuterie board night with friends, so of course I went crazy and made a bunch of different flavors!
Of course I always want to add flavors to simple foods like breadsticks, so I went with popular Italian ingredients.
It is very simple to make Roasted Garlic Grissini (Italian Breadsticks). They can be very fragile, especially if you make them extra thin or a light bake.
I found that baking them to a golden brown made them sturdier. But they were still tender and delicious!

Using roasted garlic in these garlic grissini makes them SO good! If desired, you can skip it and double the garlic powder.
But roasted garlic is just too delicious to pass up. I always have some in the refrigerator!
I am pretty sure that as our wine and cheese nights continue, and when we have house parties, I will still be making these easy Italian breadsticks!
It is a delicious base grissini ricetta (recipe) that has held up well to many flavors with a great texture and taste.
Some tips for making homemade grissini:
- Try to make them a uniform thickness. Extra thin spots will get much darker, much faster!
- If you need to re-roll any that break in the rolling process, let them sit for a few minutes for the gluten to relax. It will be much easier to re-roll it out.
- They will shrink in length just a little after rolling as they relax, so keep that in mind for the size you want.
- I love a lightly baked breadstick, but it makes them extra fragile. So cook on the lighter side if you wish, but they are much more likely to break.
If you make these Roasted Garlic Grissini (Italian Breadsticks), tag us on social media! I want to see your beautiful creations!

Roasted Garlic Grissini (Italian Breadsticks)
Equipment
- Mixer
Ingredients
- 2 3/4 cups all purpose flour (380 grams)
- 2 heads roasted garlic
- 1 teaspoon instant dry yeast
- 3/4 cup warm water (195 ml water total)
- 1 Tablespoon warm water
- 1/4 cup olive oil (60 ml)
- 2 Tablespoons unsalted butter melted and slightly cool
- 1 1/4 teaspoons salt
- 1 teaspoon garlic powder
Instructions
- Roast your garlic if not done already (this will increase recipe time). See notes for link on how to do this.
- Remove the garlic cloves from the garlic skins and roughly chop them.
- Put all of the ingredients in a bowl of a stand mixer with the dough hook attachment.
- Blend on low speed until well combined, approximately 2 minutes.
- Increase the speed to medium-low and mix another 5 minutes.
- Cover the dough in a bowl with plastic wrap and let sit for an hour at room temperature. It will not rise because it is instant yeast, but this resting time will relax the gluten.
- Preheat oven to 375F.
- Prepare two baking sheets by lining them with parchment paper.
- Cut the dough into 24 pieces (or use a scale and make each piece around 25 grams). Roll each piece into a thin, long log or snake shape with your hands. Make them however long and thick as you want, knowing they will become thicker when baking (see note).
- Place on the baking sheet and repeat for all dough pieces, placing them approximately an inch apart.
- Once one sheet is done, brush them with a little more olive oil and a light sprinkle of salt.
- Bake for approximately 20 minutes until starting to turn a golden brown.
- While the first tray of breadsticks are cooking, roll out the second tray. Brush with oil and salt.
- Cool the breadsticks on a wire rack. They can be stored in an airtight container up to 5 days.