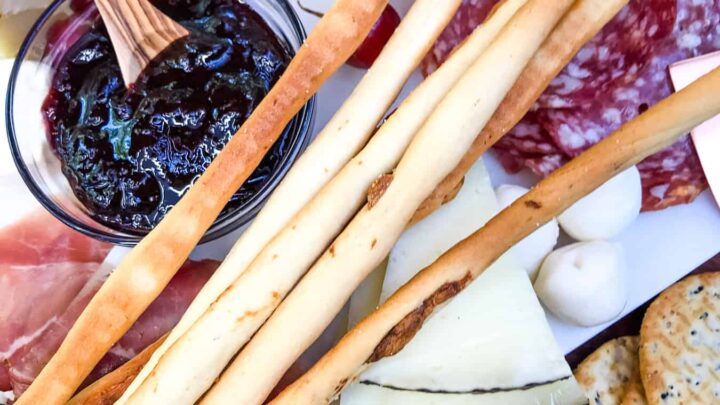
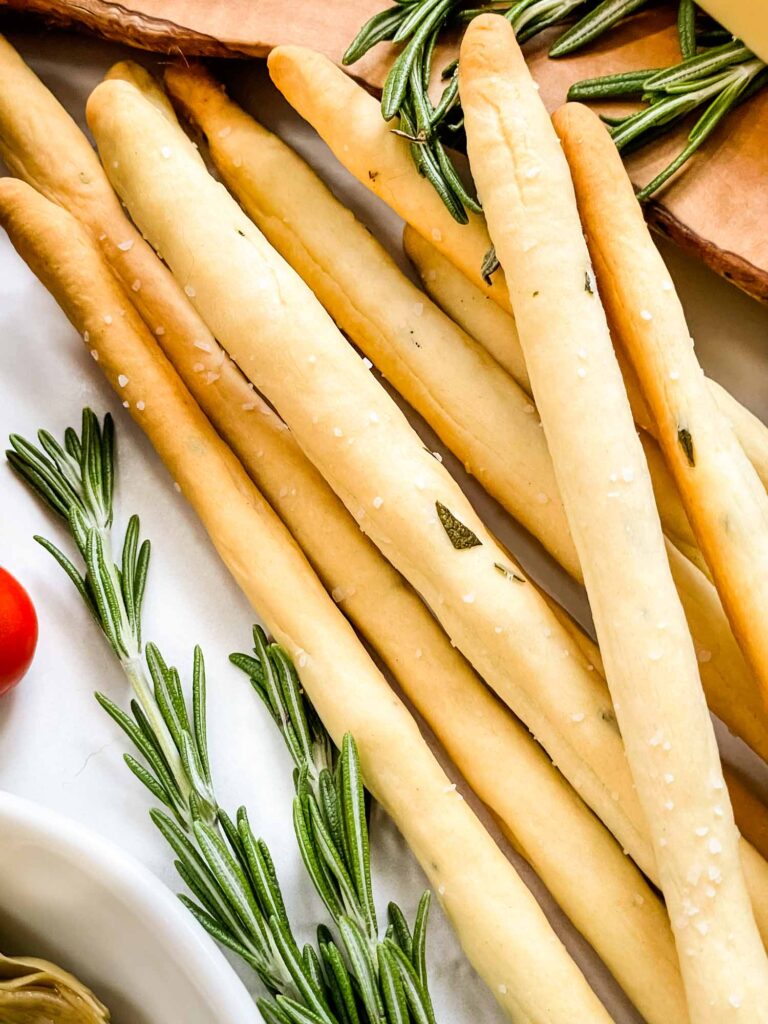
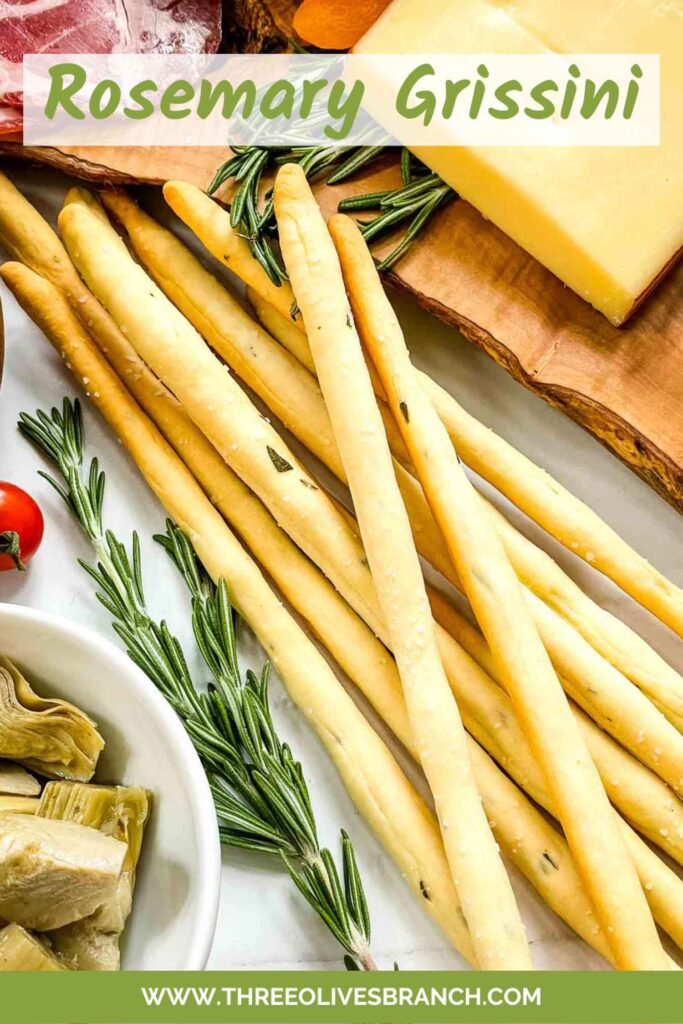
These Rosemary Grissini are the perfect addition to your Italian dinner or charcuterie board! Crisp and thin breadsticks flavored with fresh rosemary herbs for a delicious traditional homemade bread.
Why You Will Love This Recipe
Rosemary grissini, also known as rosemary breadsticks, are a popular Italian snack or appetizer made from dough that is flavored with fresh rosemary and baked until crisp and golden.
Rosemary grissini are a delicious and versatile snack with a unique blend of flavors and crunchy texture. They are relatively easy to make at home and can impress guests at parties or gatherings with their rustic charm and savory taste.
When I lived in Italy for a study abroad program in college, we were obsessed with dunking plain grissini into Nutella jars. It was just the BEST afternoon snack when we were studying and cooking for the night.
Now I love to make as many authentic or close-to-authentic Italian recipes as possible, and these Rosemary Grissini have been one of my favorites to make for friends and family.
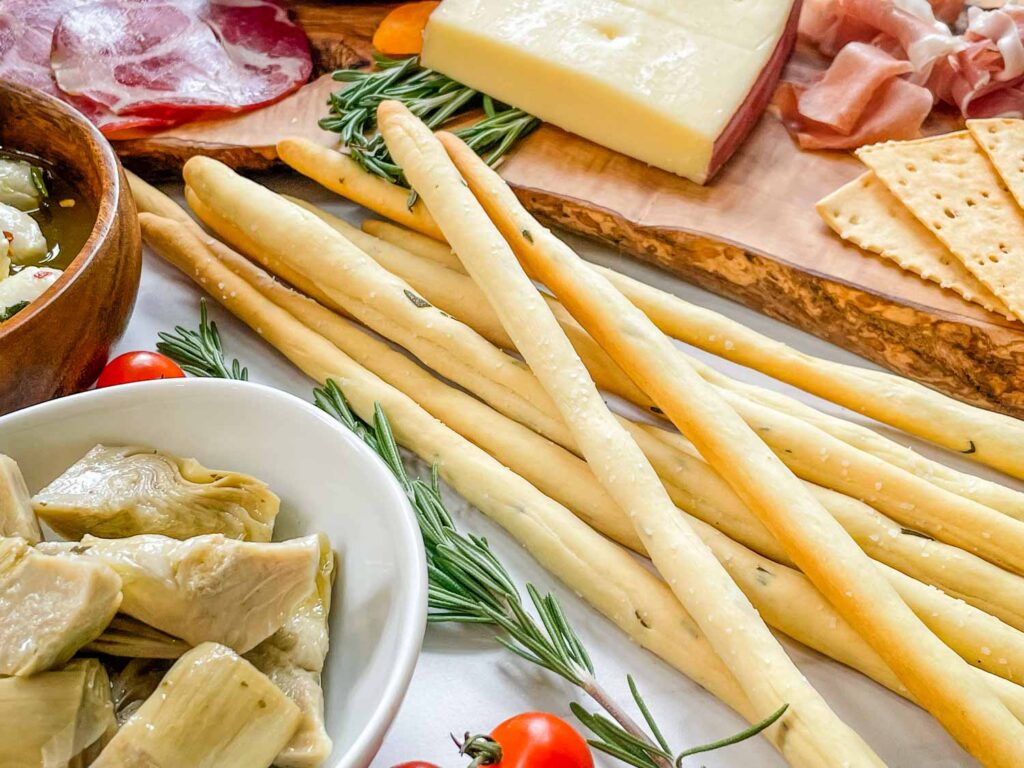
They are the perfect addition to any Italian dinner idea or a charcuterie board such as our Italian Antipasti Charcuterie Board.
And they are always a HUGE hit with lots of flavor as the perfect snack before dinner!
Instruction Overview
Making the Rosemary Grissini takes some time to get everything rolled out, but it is worth it!
After making the dough, let it rest some to relax the gluten.
First cut the dough into approximately equal portions. I use a scale and aim for 25 grams each (23-27 is fine) but you can just eyeball it.
Roll out each piece like a playdough snake log so it is approximately as long as your baking sheet.
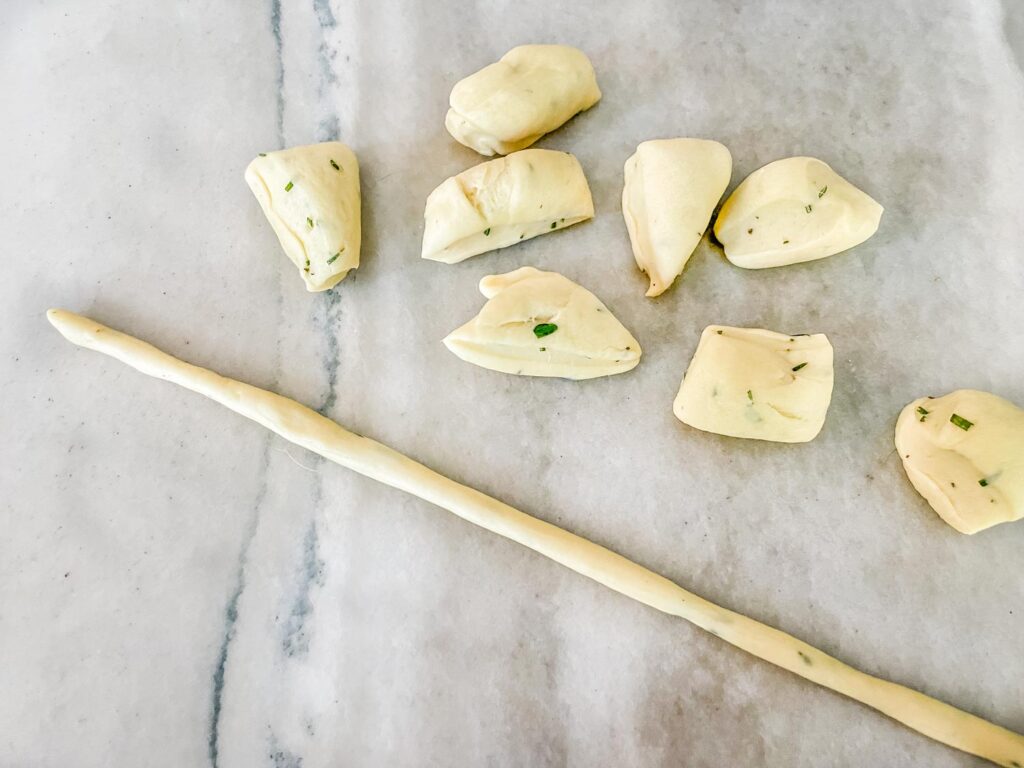
If your dough snakes are shrinking too much as they rest, re-roll as needed to help the gluten stretch out more.
Bake each set, brushed with olive oil and some more salt, until lightly golden brown.
Let cool on a wire rack and enjoy with your favorite Italian recipes or charcuterie!
Serving
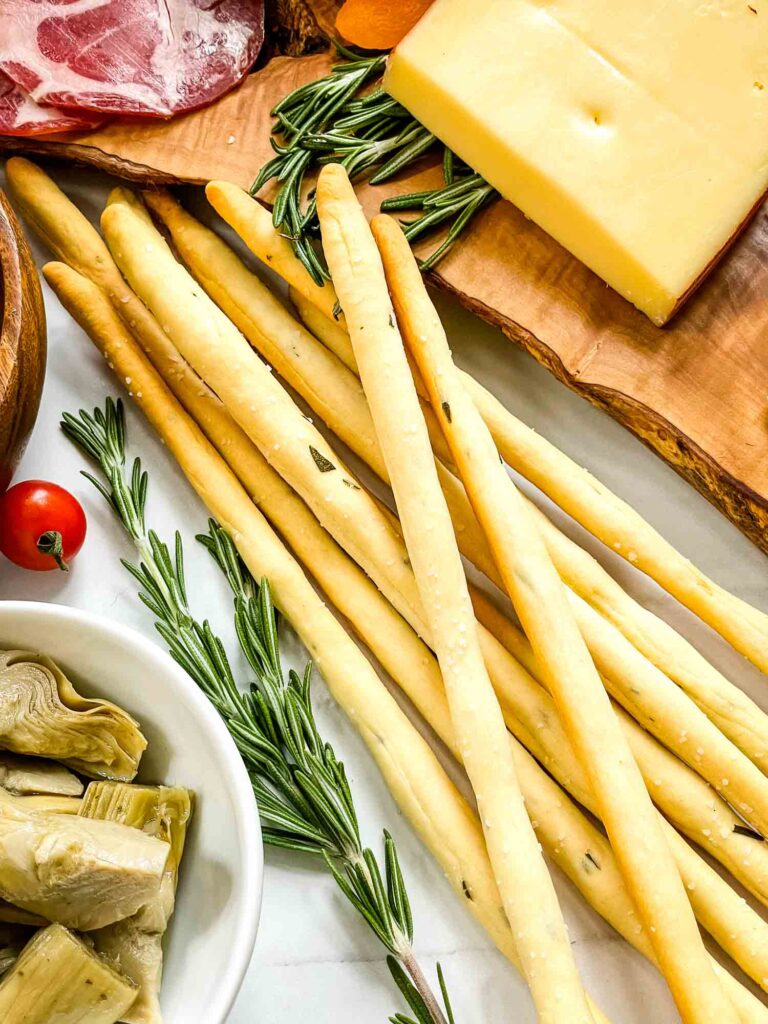
Rosemary grissini are commonly served as an appetizer or accompaniment to various dishes. They are often served with cheese and cured meats, as part of antipasto platters, or as a complement to soups and salads.
The crisp texture and aromatic flavor of the breadsticks make them a favorite snack for many.
Storing
Grissini should be cooled completely before storing in an airtight container or bag to prevent moisture from being trapped.
The crisp breadsticks can last for a week, sometimes longer. But are best within the first 3 days.
FAQs
Why are breadsticks called grissini?
The name comes from a long, thing, crisp bread in Piedmont, Italy.
What is the meaning of grissini?
Grissini means thin and crisp breadsticks.
What is another name for grissini?
Grissini are thin, crisp, and long Italian breadsticks.
How do Italians eat grissini?
Grissini are typically eaten as an appetizer along with meats, cheese, and/or olives.
What are grissini breadsticks made of?
The base of this recipe is made with flour, water, butter, yeast, salt, olive oil, garlic powder, and rosemary for flavor.
More Italian Antipasti Recipes
Rosemary Grissini (Italian Breadsticks)
Equipment
- Mixer
- Parchment paper or silicone baking mats
- Measuring Cups
- Measuring spoons
Ingredients
- 2 3/4 cups all purpose flour (380 grams)
- 1 teaspoon instant dry yeast
- 3/4 cup warm water (195 ml water total)
- 1 Tablespoon warm water
- 1/4 cup olive oil (60 ml)
- 2 ½ Tablespoons fresh rosemary chopped
- 2 Tablespoons unsalted butter melted and slightly cool
- 1 1/4 teaspoons salt
- ½ teaspoon garlic powder
Instructions
- Put all of the ingredients in a bowl of a stand mixer with the dough hook attachment.
- Blend on low speed until well combined, approximately 2 minutes.
- Increase the speed to medium-low and mix another 5 minutes.
- Cover the dough in a bowl with plastic wrap and let sit for an hour at room temperature. It will not rise because it is instant yeast, but this resting time will relax the gluten.
- Preheat oven to 375℉.
- Prepare two baking sheets by lining them with parchment paper.
- Cut the dough into 24 pieces (or use a scale and make each piece around 25 grams).
- Roll each piece into a thin, long log or snake shape with your hands. Make them however long and thick as you want, knowing they will become thicker when baking (see note).
- If desired, after the dough snakes have been sitting there, re-roll again as needed as they shrink back.
- Place on the baking sheet and repeat for all dough pieces, placing them approximately an inch apart.
- Once one sheet is done, brush them with a little more olive oil and a light sprinkle of salt. (I prefer kosher salt).
- Bake for approximately 20 minutes until starting to turn a golden brown.
- While the first tray of breadsticks are cooking, roll out the second tray. Brush with oil and salt.
- Cool the breadsticks on a wire rack. They can be stored in an airtight container up to 5 days.


