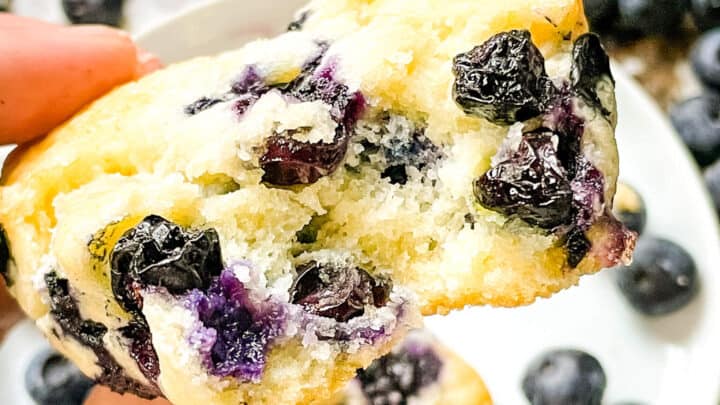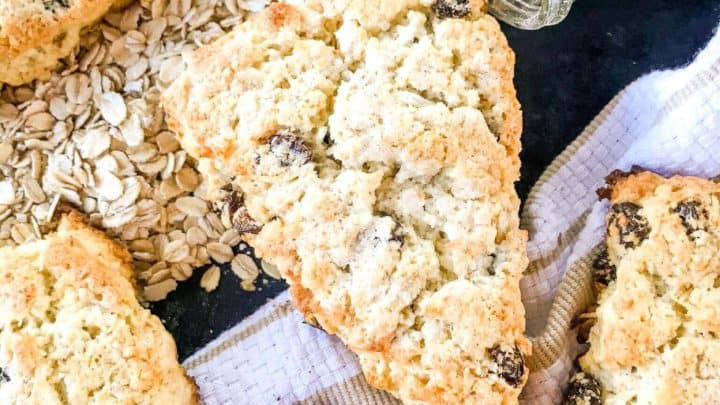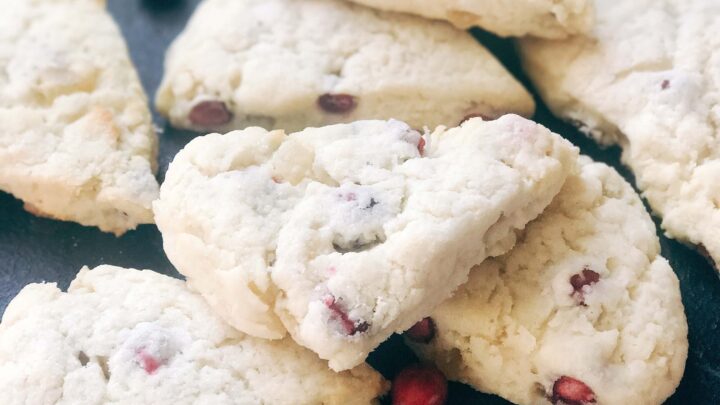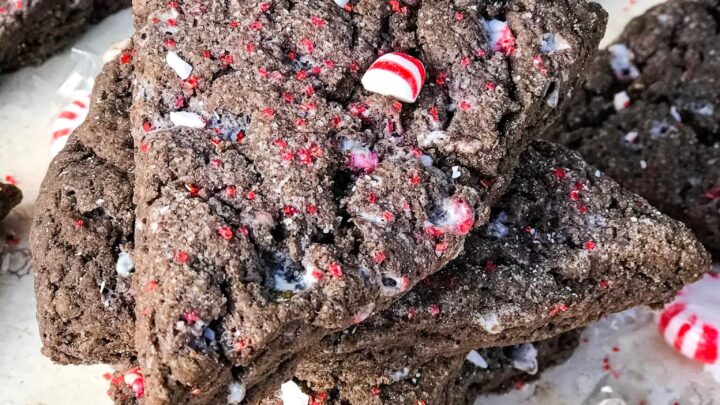


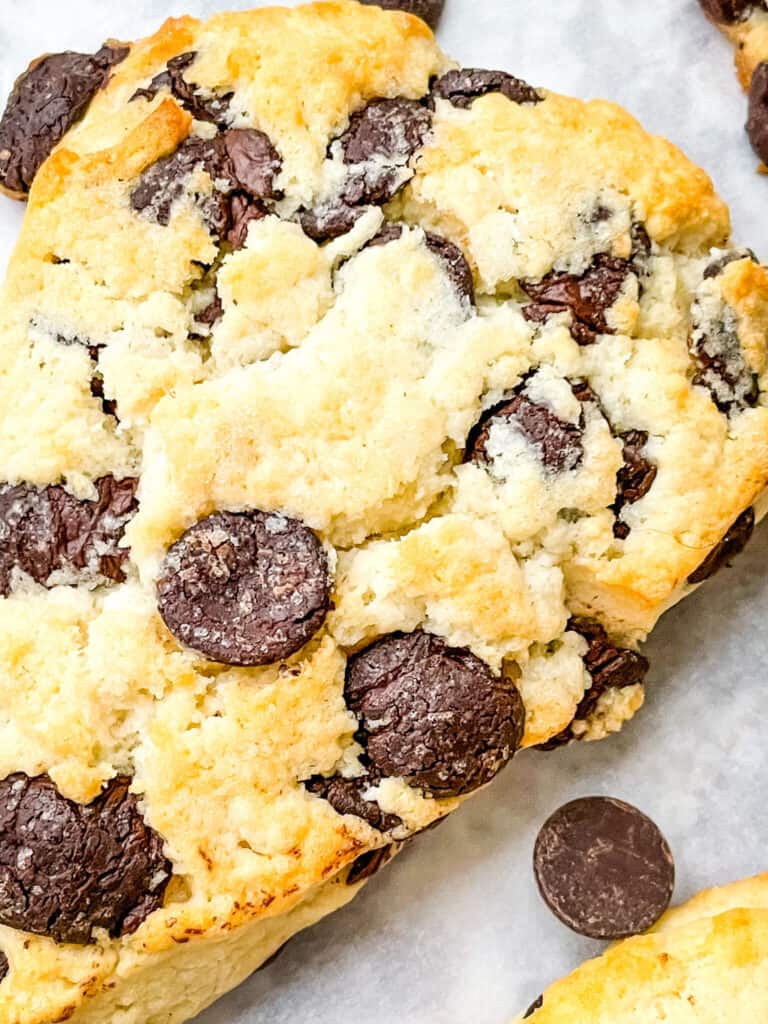
These Chocolate Chip Scones make a great breakfast, brunch, dessert, or snack. Packed with chocolate chips in a fluffy pastry dough.

Table of Contents
Best Scone Recipe
I just love how delicious and simple a homemade scone recipe is!
These Chocolate Chip Scones are great for entertaining and guests for something fun and delicious without a lot of work.
They also freeze incredibly well! Simply freeze the individual scones before baking and bake them as per the recipe instructions when you want a fresh and hot scone.

What is the secret to making good scones?
A few tips for making great scones:
- Use very cold butter! It is important for the butter to be cold and not warm
- Do NOT over mix the dough! Just get it pressed together enough that it holds its shape and is mostly incorporated. Too much mixing and pressing will result in more gluten and a tougher texture.
- Chill the scones before you bake them! Just like with cookies, the chilling helps hold their shape, prevent them from spreading too much, and letting the butter do its magic instead of leaking out. Even just 30 minutes in the fridge will help.

Why are my scones not fluffy?
Baking powder is what gives the lift to these pastries!
You want to make sure that your baking powder is still fresh and not expired as it does lose its power over time.
I have also found that the chilling step helps hold the shape on the edges to support the rise, versus spreading out sideways without chilling the dough.


How do I make my scones more moist?
If the dough is too dry and not holding together, add a little more cream.
It also helps to make the disc of dough taller and thicker before cutting and baking so it does not dry out as fast in the oven.
While I recommend using round cake pans, you can make the thicker scones by using pans that are narrower and deeper to get those tall scones. Any shape is fine.
Instruction Summary
You will incorporate most of the ingredients in a food processor.
Can you do this by hand? Yes. Simply cut the butter into the flour mixture with a pastry cutter, a fork, or your fingers. But it will take much longer. Also, be careful if using your fingers as the heat from your hands will warm up the butter and you might have to stop and pop it in the refrigerator.
The trickiest part of making scones is getting the dough mixed together enough but not overmixing.
You want to almost doubt yourself that you did not mix enough where it has just come together and is maybe even a little unincorporated.
You can see the reasons why overmixing is bad in the sections above. But even if you do end up with a little over mixing, they will still taste amazing!

I make the scones into triangles by pressing the dough into a round cake pan that has been sprayed with nonstick spray before chilling. It makes it SO much easier to make them a beautiful shape.
The chilling is important to help them rise instead of spreading sideways as noted above.
Want to make them into rounds instead of triangles? Follow the instructions for our Peach Scones after the dough is ready.
And I like to brush them on top with a little melted butter and a sprinkle of sugar. The butter helps give them a golden color and the sugar brings a touch of crunch.


Chocolate Chip Scones Recipe
Ingredients
- 2 cups all purpose flour
- 3 Tablespoons sugar plus more for sprinkling on top, optional
- 1 Tablespoon baking powder
- ½ teaspoon salt
- 5 Tablespoons unsalted butter unsalted, very cold, cut into ½ inch slices
- 1 ⅔ cups chocolate chips (one 11-12 ounce bag)
- 1 cup heavy cream
Instructions
- Preheat oven to 450°F (232°C) with the rack on the middle shelf.
- Add the flour, sugar, baking powder, and salt to a food processor. Pulse a few times to mix.
- Scatter the cold butter across the flour. Pulse until it resembles cornmeal or wet sand, approximately 10-12 pulses.
- Pour out the flour mixture into a bowl. Add the chocolate chips and heavy cream. Mix until just barely incorporated. Do not overmix (a little dry mixture is okay and preferred to overmixing).
- Spray a cake pan with nonstick spray.
- Dump the dough into the cake pan and press into an even layer.
- Refrigerate the dough in the pan for 30 minutes (or longer, see note).
- After chilling, remove the pan from the refrigerator and slam onto the counter or cutting board. Repeat if needed until the dough disk falls out.
- Using a sharp knife, cut the disk in half, then half again in the opposite direction to give you four quarters. Then cut each piece in half again (think like a pizza) to give you 8 triangles.
- If desired, coat with the melted butter and sprinkle with additional sugar for texture and color.
- Place the scones on a lined baking sheet.
- Bake for 13-15 minutes until lightly golden brown. Rotate the baking sheet halfway through baking. Cool on a wire rack for at least 10 minutes. Store in a sealed container for up to 5 days.