


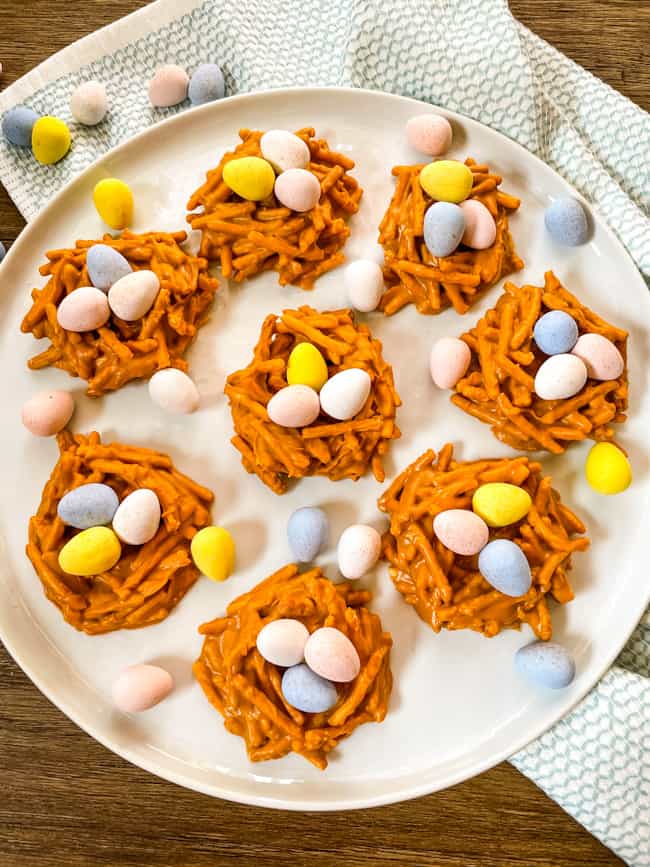
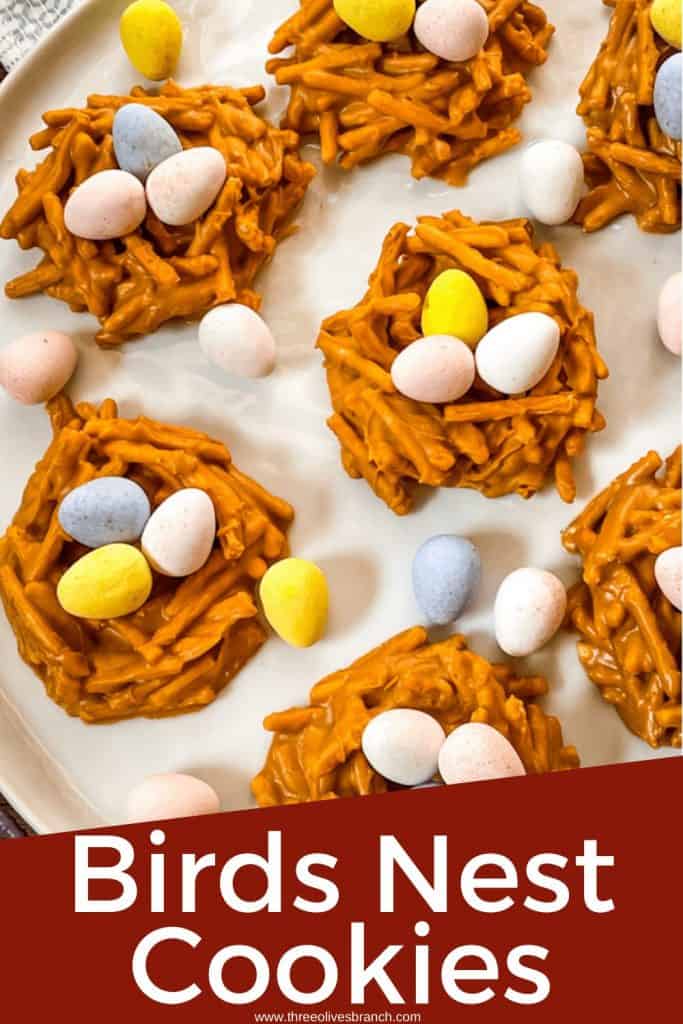
These Birds Nest Cookies are an adorable no bake cookie that is perfect for Easter or spring!
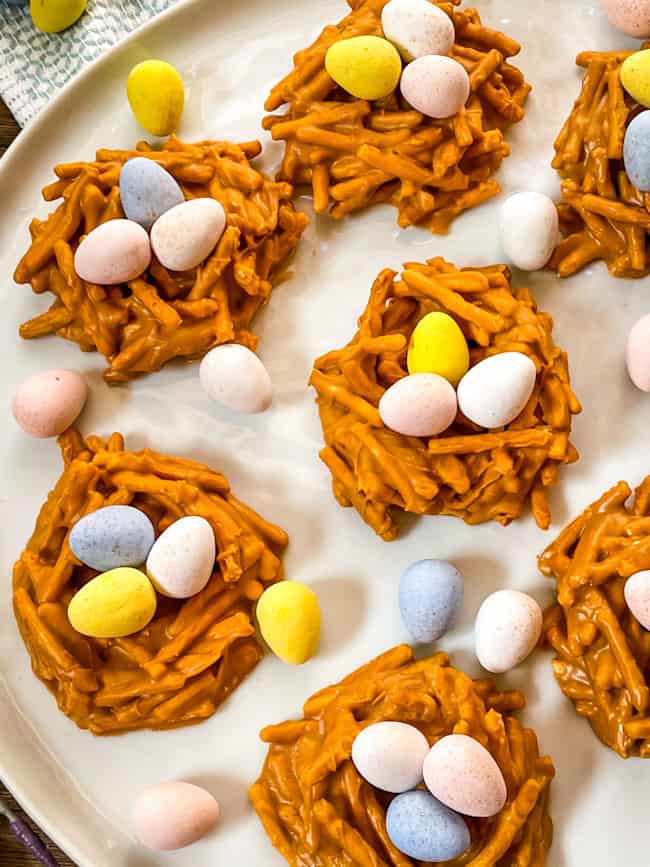
I just cannot get over how adorable these Birds Nest Cookies are!
i just love how realistic they look and the beautiful, pastel chocolate eggs. The eggs even have a little brown speckle to them!
These Birds Nest Cookies are no bake cookies and a fun activity for kids to help make!
They are similar to the anthills I made growing up, which were half butterscotch and half chocolate.
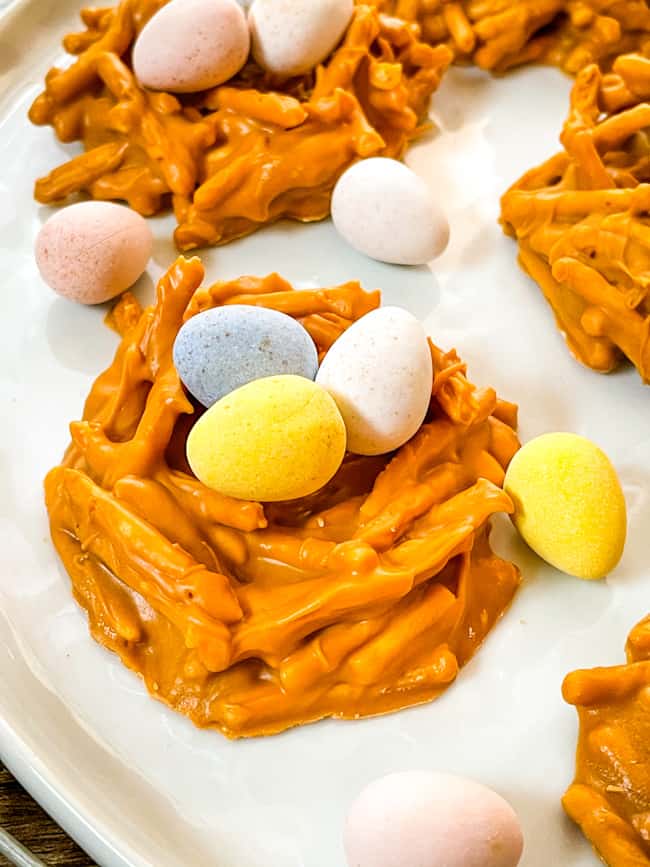
Table of Contents
Flavor Options
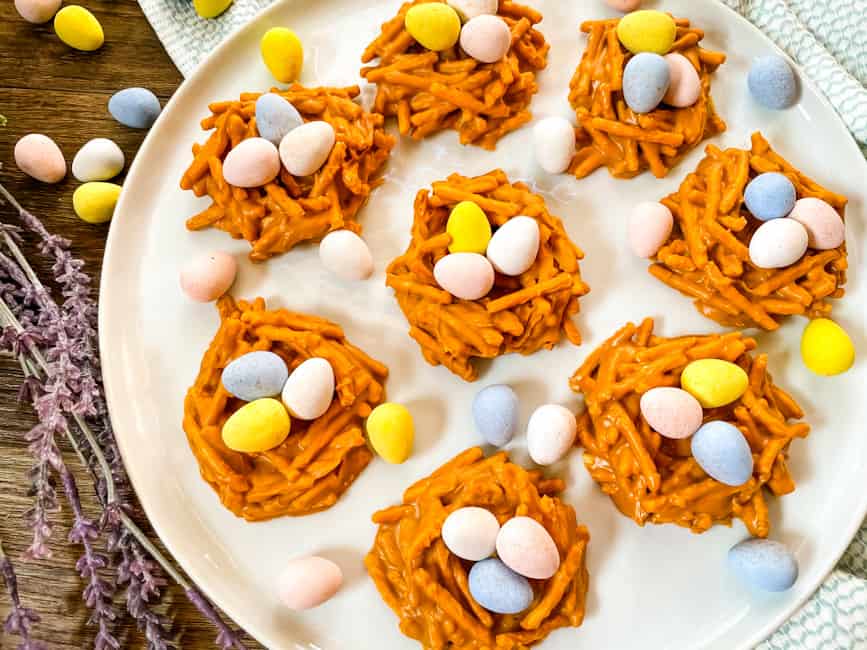
I went with all butterscotch chips here to give the nests a wood color.
You could use half chocolate, half butterscotch like the classic, if preferred, and they will be a very dark chocolate brown.
Want some fun and festive spring or Easter colors? Use candy melts (but they will be VERY sweet!) or even white chocolate for a white nest.
Whatever color and flavor you go for, they will be delicious!

Options for Mini Eggs
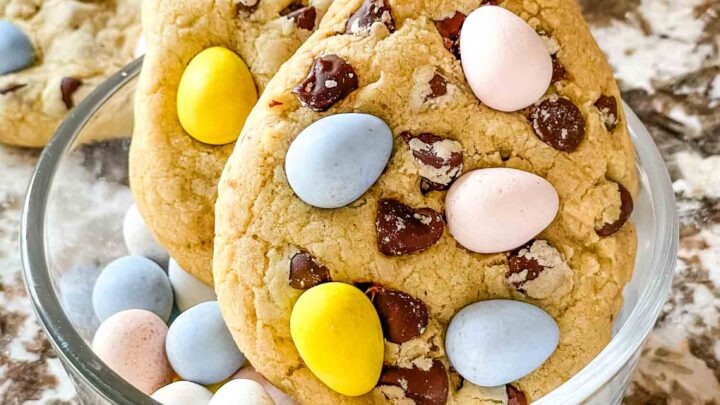
I used Cadbury Mini Eggs and they are my favorite because of their beautiful pastel shades and a brown speckle. They also taste great!
The eggs are chocolate and covered in a thin candy coating.
You can use any brand of mini eggs that you have or can find.
No mini eggs? A great alternative is using almond or peanut M&Ms (since they have an egg-like shape).
Using a Double Boiler
A double boiler is the best way to melt chocolate.
Yes, it is a pain. Yes, it takes much longer than a microwave.
But you are much more likely to get well melted chocolate.
Microwaved chocolate can very easily get lumpy, chalky, or seize up.
To make a double boiler, get a small or medium pot. Then find a glass or metal bowl that fits on top of the pot so that it sits up on it.
You do not want the pot to touch the water. Fill up the pot with some water and heat over medium heat until simmering.
Place the bowl on top of the pot, where the heat will now go to the bowl.
Place the butterscotch chips in the bowl, and they will slowly melt from the heat.
Shaping the Nests
Shaping the nests takes a little more time than a classic haystack or anthill, but it is very easy.
Use two dinner spoons and scoop approximately 1/4 cup of butterscotch noodles into a pile on the silicone mat or parchment paper.
Use your spoons to dig a hole in the middle, gently pulling the spoon in a circle to make the gap. You want to leave some noodles, or at least butterscotch, at the bottom so that there is not a hole.
Also use the spoons to press around the sides to make the nest into a round shape.
Pull up noodles from the outside edges as needed to make the nest rim thinner and taller.
Use these different techniques back and forth as needed until you like the shape of your nest. Each one will be unique, just like in real life!
More Easter Recipes
Easter Recipes


Birds Nest Cookies
Ingredients
- 22 ounces butterscotch chips (two bags at 11 ounces each)
- 12 ounces chow mein noodles
- 10 ounces mini chocolate eggs (one bag) (Cadbury is my favorite) (or peanut spring colored M&Ms)
Instructions
- Put a metal or glass bowl on top of a small or medium pot that has water in it. Heat over medium heat so that the water is simmering.
- Put the butterscotch chips in the bowl on top of the pot. Stir occasionally until completely melted from the heat.
- Dump the chow mein noodles into the butterscotch and gently stir to coat.
- Set out two baking sheets lined with silicone baking mats or parchment paper. Use two spoons to scoop out the butterscotch noodles in approximately 1/4 cup portions.
- Put the noodles on the baking sheet and, using the spoons, shape them into nests. Make them into round circles and gently dig into the center to make the nest indentation in the middle.
- Repeat the nest building with the remaining noodles (approximately 22 nests total).
- Place three mini eggs in each nest (do this as you are building the nests and the butterscotch is still wet if you want the eggs to stick to the cookies. Or the eggs can be added after they have dried).
- Let the cookies sit at room temperature for at least 30 minutes to harden. If too hot, or for a faster set, place the trays in a refrigerator or freezer for 10-15 minutes.
- Store in an airtight container for up to 5 days.
They looks super cute and good! I would love to try this for the kids! love it!